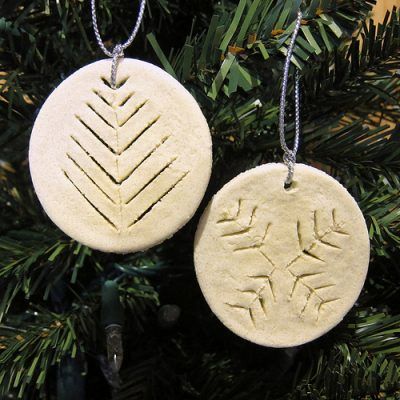
Saltbread Christmas Ornaments
1 Serving Although this is not edible, it is great fun!
Ingredients
2 cups all-purpose flour
3/4 cup salt
3/4 cup water
Directions
Process the flour and salt in the bowl of a food processor for about 15 seconds.
Then drizzle the water through the feed tube.
Once a ball has formed, continue to process for 3 minutes more.
Transfer the dough to a work surface and knead it 5 or 6 times, until it is no longer sticky to the touch.
Put the dough in a plastic bag to keep it moist while you are shaping the ornaments.
Preheat oven to 200°. Remove a bit (about 1/10) of dough at a time from the plastic bag, and roll it out 1/4 inch thick.
Cut ornaments in festive holiday shapes with cookie cutters or by hand with a sharp knife.
Transfer the ornaments to an ungreased, nonstick baking sheet and make a small hole (for hanging) at the center of the to0p of each with a chopstick, skewer, or pencil.
When all of the dough has been shaped into ornaments, bake for about 1 hour, until the ornaments are as stiff and dry as ceramic (they will be ivory to light tan in color).
Remove the sheet from the oven and set it aside for about 1 hour to allow the ornaments to cool.
Decorate the ornaments with acrylic paints and let them dry thoroughly for 15 to 20 minutes.
Coat one side of the ornaments with shellac to seal and set them aside for 2 to 3 hours until thoroughly dry and no longer tacky.
Flip the ornaments, shellac the other side, and allow to dry for another 2 to 3 hours.
For a protective coating that will last for years, apply two coats of polyurethane to each side of the ornaments, allowing 2 to 3 hours drying time for each coat, and for each side.
To hang the ornaments, thread lengths of decorative ribbon through the holes at the top of each ornament and tie.
Category: Potpourri